
The other day, I began to notice a discarded pallet on the side of the road that must have been waiting for weeks to be picked up by the garbage trucks. We had had an ice storm back in early December and the debris from this storm was still sitting in piles everywhere. Which is where I spied my little treasure…. and oh the ideas that came to mind with all that repurposed wood.
I told myself it it was there the next time I drove by, I was going to stop and snag it. Much to the horror of my teenage daughter, we stopped one afternoon and loaded that dirty pallet into the back of my SUV and stored it in my garage
First, I planned to build a wine rack…… here
and then maybe make these wooden gate wall hangings with the rest of the wood…. here to add to my bedroom.
and then I want to create a wall arrangement kinda like this for hanging pictures …… here
or a doggie gate to keep four pooches from rushing the front door every time the doorbell rings ….. here
But first, the wine rack. In fact, this is such an easy build that I invited my friend, Jessica, over to try her hand at building. You might remember Jessica from this post pictured with her boys among the blue bonnets.
So here is a picture tutorial and subsequently, Facebook posting proof, that Jessica built this wine rack.
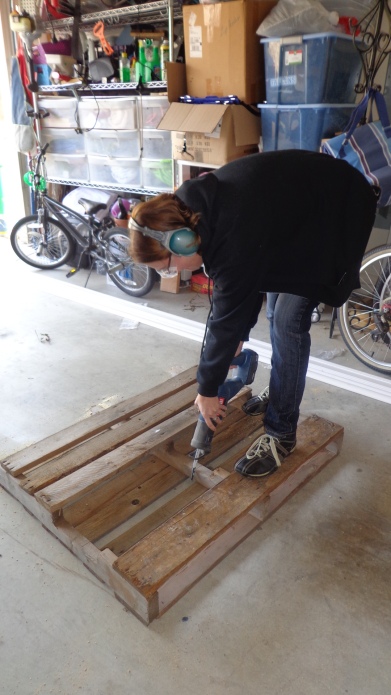
First, using a reciprocating saw, Jessica removed a section of the pallet that included a single slat and framing.
She cut both ends off so that we can make two wine racks. One for her and one for me (which will be completed later).
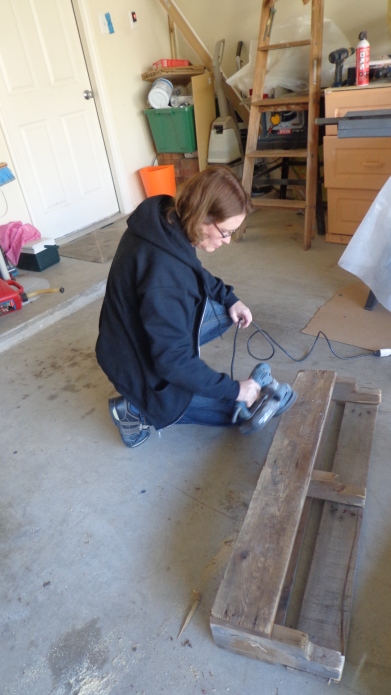
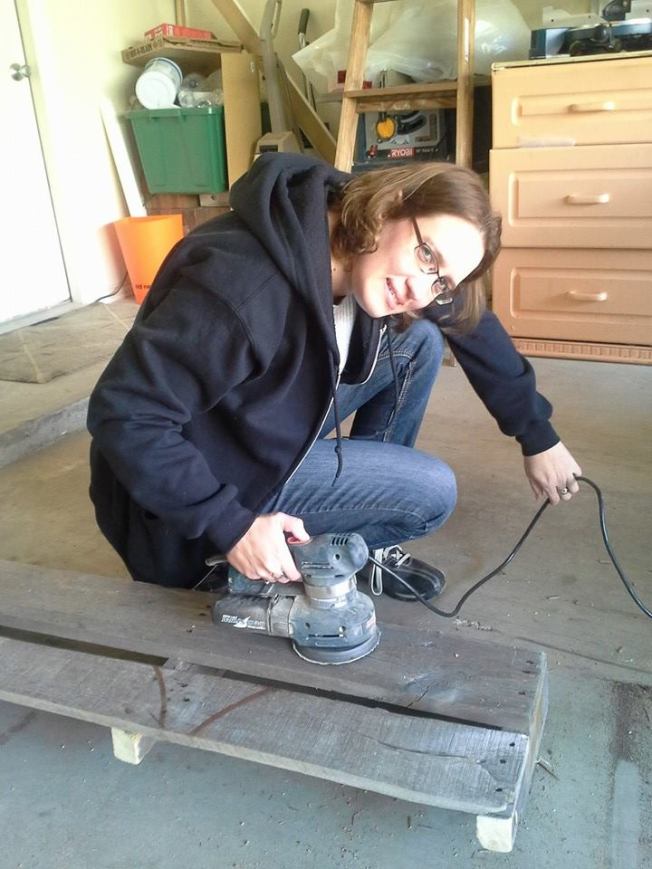
Then she used an orbital sander to clean up the wood a bit, removing dirt and splinters and allowing some of the warm yellow wood to peak through the aged surface.
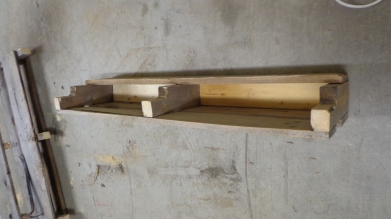
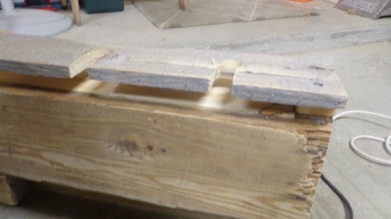
Next, she took 1×4 scraps that I had laying around and measured and cut them to create a bottom to the shelf.
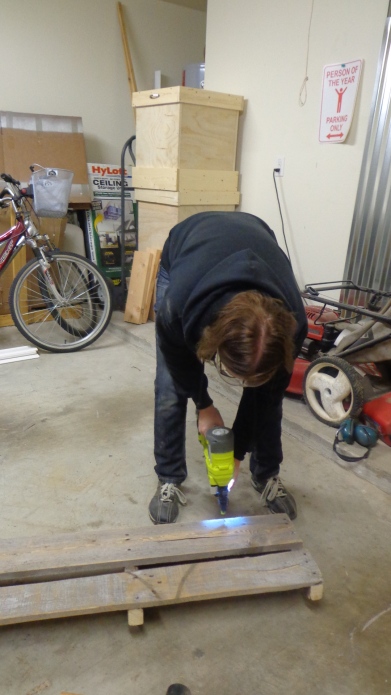
Then used a brad nailer to secure the boards into place.
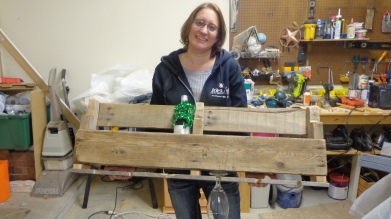
Next, came the wine glass holder. It will be attached to the bottom of the wine shelf to have glasses at the ready. Returning to the pallet, I very carefully removed a plank. This is not as easy it would seem. The nails are long and these pallets are made to hold very weighty items and be handled by fork lifts. I used a crowbar and a hammer and working the crowbar behind the nails and then gently working the nails out of the pallet frame.
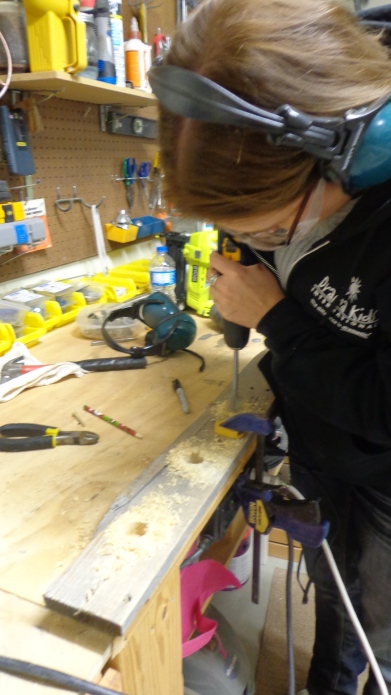
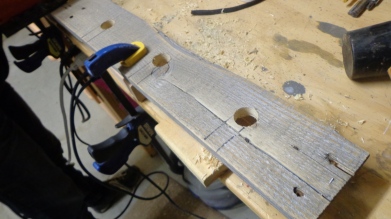
Next, we measured and marked places for 6 glasses and Jessica drilled holes using a 3/4 inch drill bit. She was careful to put a scrap board behind her wood piece to keep the drill bit from splintering the wood once it broke through to the other side.
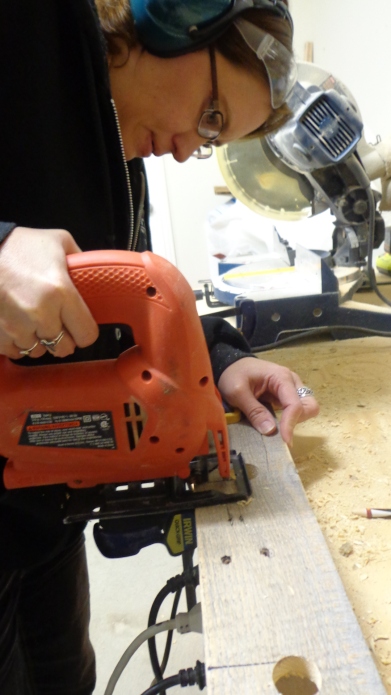
Then using jig saw, cut slots to the holes for the glasses to slide through and then rest in the holes she created. (Note the wood was cracked so we reinforced it with a 2″ brad to keep the wood from separating once the slot was cut)
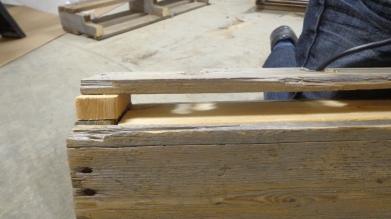
Finally, to create a space between the bottom of the shelf and the glass holder shelf, we added a 1/2″ block of 2×4 to the bottom of the 2×4 frames and then nailed the shelf through those blocks when adding the shelf to the bottom.
When attaching the shelf, it was aligned with the front face of the shelf for a pleasing effect. This pictures shows that the glass holder shelf is not as wide as the shelf itself but will not be noticeable once it has been installed.
We did a quick test run with wine and glass. The added 2×4 blocks look like a natural extension of the original frame.
Next, I grabbed a small level, some long wood screws, a stud finder and my cordless drill with drill bit and screw bits and we headed to her house to mount it to the wall.
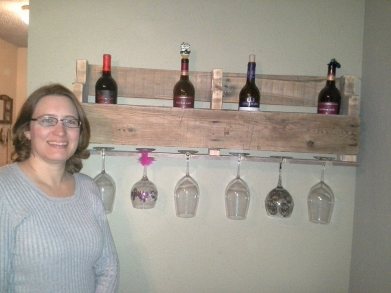
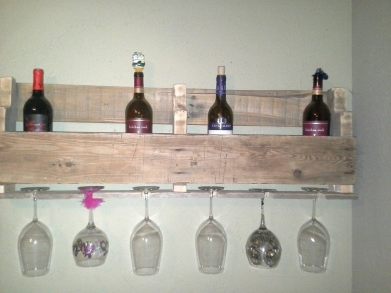
Jessica was eager to clear a spot in her dining room and after finding two well placed studs, we made sure this heavy shelf was level and then screwed this masterpiece into the wall. Sadly, it doesn’t look level in this photo, but I can assure you that we were careful and accurate.
Here is a solo shot fully equipped and ready for some serious entertaining.
She did a great job and I have the photo proof that she took charge of her training and took on those power tools with confidence. Whether she will want to build again, she didn’t say. But I do know that there is something about knowing you could do it again if you want to…… so empowering. And empowered women are confident women and everyone knows confident women are sexy. Woohoo!
So here is a parting shot of a sexy confident woman. Single-mom. With the power to create a beautiful life.
~ Dona
Stay Calm and Thrive On!
Pingback: Wall Herb Garden | Single Mom Thriving